DIY Feeding Bell For Angler Fish
Problem:
I have been having a problem getting food to "Blue Eyes" (Hispid Angler Fish)
(Click this link for full information on our 47 Gallon XT SW FOWLR Predator Tank )
Special considerations:
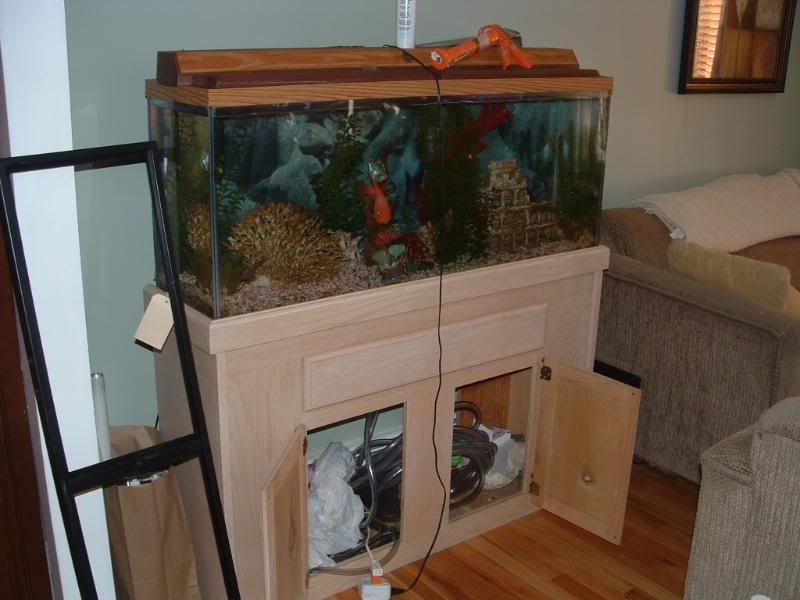
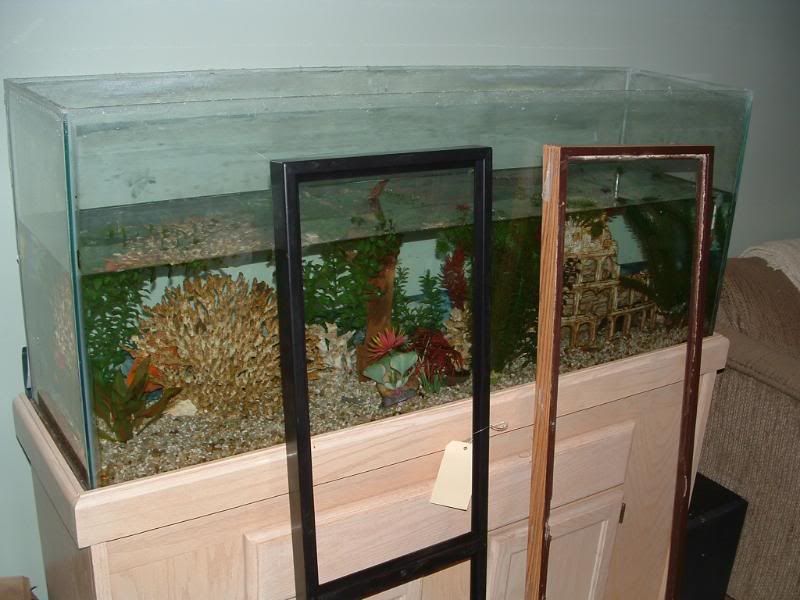
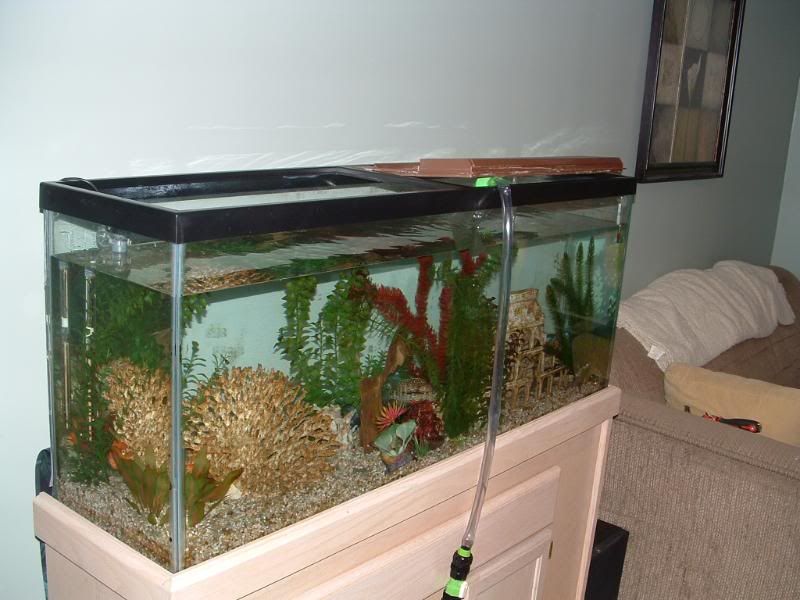
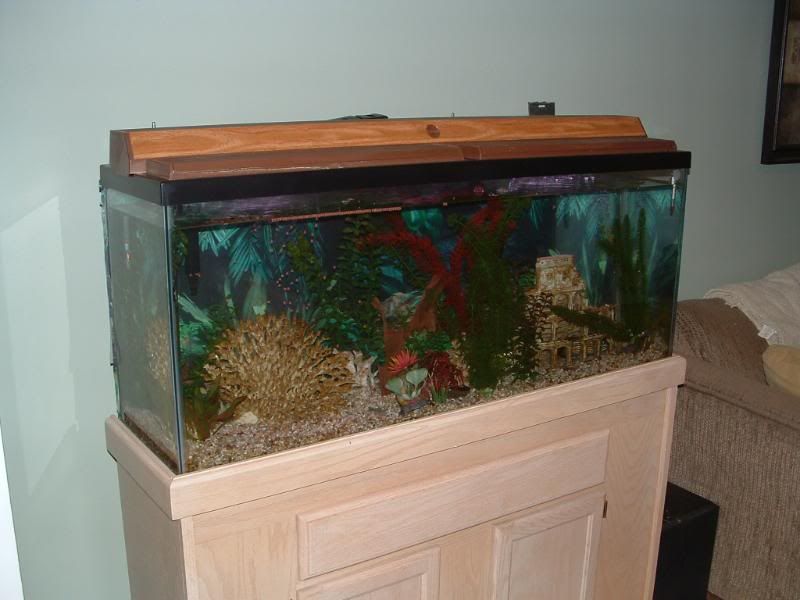
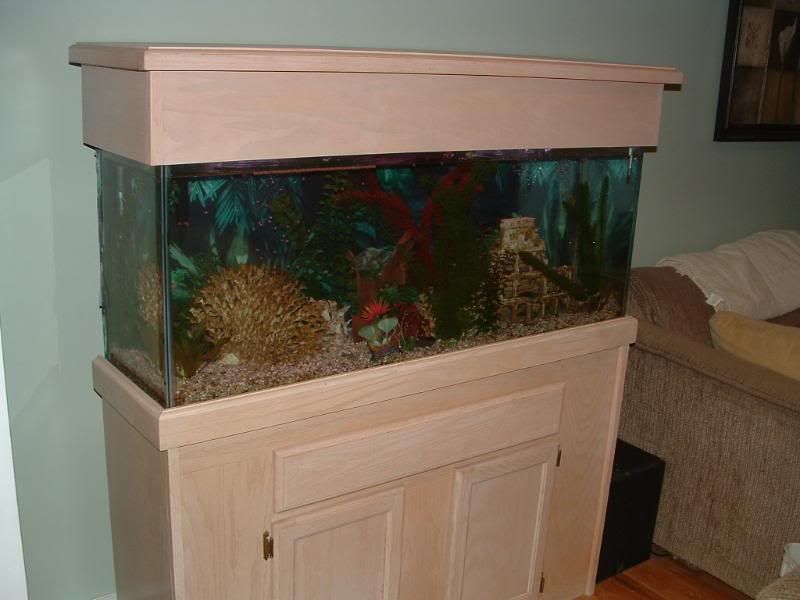
The tank is a "Column" tank which means it is very deep. Most pre made tongs and similar target feeding devices don't come long enough to do the job properly.
Possible solutions:
I thought about:
- A tank divider
- Feeding Stick
- Aquarium Tongs
Just to name a few
Solution:
While cruising the forums I noticed in one of my favorite forums " www.AquaticCommunity.com" That a lot of the reef tank hobbyists use feeding bells to feed their corals. I went to youtube and noticed some very interesting DIY feeding bells made from soda bottles. Finally I decided to try something of my own and here is what I came up with.
“I do not think there is any thrill that can go through the human heart like that felt by the inventor as he sees some creation of the brain unfolding to success... Such emotions make a man forget food, sleep, friends, love, everything.” - Nikola Tesla - Hmm well Nik I agree with ya except the Friends and Love part...lol

DIY Angler Fish Feeding Bell

Close Up of the "business end"
Here is how it works.

In Action!!
In Action!!

Blue Eyes didn't like it a whole lot at first (Actually there was a lot of testing before final design- However No Angler Fish were harmed in the making of this photo session...lol)

Ummm I can't say the same for the feeder fish though...
Ok so anyway they go into the cup.

Add some tank water.

Pour contents of cup into tube

Raise tube above assembly and let water gravity take over

Cover end of tube with mouth and blow - DING>>DING>>DING Dinner is served...lol
Once he realized during testing (not pictured in this set of pics) He really didn't mind much being in the bell as he now knows it is his personal dinning room...lol
Here is how it was made.
You may notice there is no glue involved in the assembly of this project. All fittings are pressure fit. The purpose of this is two fold:
1) No worry of toxins to contaminate water
2) easy assembly and disassemble allows easy cleaning and replacement of warn parts or future upgrades to design.
Here are the tools I used. You may use other tools that serve the same purpose depending on what you have available.
 Starting from left to right:
Scissors
Serrated Knife
Cordless Drill & Drill Bit that is smaller than the smallest animal you will be feeding to your fish.
Circular Saw
Materials:

Starting from left to right::
1" PVC Pipe
Quality Clear PVC Tubing
Vinyl Tubing (The soft pliable kind (Those are the little pieces in the bottom middle)
A Hawaiian Punch container (1 Gallon Size)
Drilling and Cutting::

Drill holes in top region of Hawaiian punch bottle make sure to stay clear of the area you intend to cut the bottle. I found its easier to drill the wholes while the bottle is in one piece.

Identify the area you want to cut to achieve the height of bell that you desire (Make sure you leave your fish enough head room but not too much or when you put feeders into the bell they will hide at the top.) Use serrated knife to separate bottle at the area you decided upon.

Finish cutting with scissors and trim as necessary to insure bell sits level on the ground.

Cut PVC pipe to desired length - Make sure it is at least 6" taller than the height of your tank

Measure and cut Quality PVC tubing - Make sure it is 2-3' longer than the PVC pipe.
 Cut a 4" length and a 2" length of the soft vinyll tubing. Then split them both length wise.
Assembly:

Thread PVC Tubing Through PVC Pipe until it is about 2-3 inches longer than the portion you want to have hanging down in the finished Bell.

Wrap Vinyl Tubing around PVC Tubing (Wrap as tightly as possible)

Keep wrapping till assembly fits snug into PVC Pipe.

Stuff Assembly into Pipe.

The goal is to have Vinyl Flush with edge of PVC Pipe Yet Have 1-3 Inch over hang of PVC tubing.

Place remaining piece of Vinyl over PVC Pipe As shown above.

Hold Vinyl in place while forcing the whole assembly into mouth of Bell assembly.

Once properly inserted it will look as above.

Adjust as needed so that it is balanced and can stand on its own and Bingo you have Done it!!
Remember all fittings are secured with pressure only for a reason. This way should your fish grow or you destroy the bell you can easily replace it. It also makes cleaning simple.
Enjoy your new toy!!! Don't forget to comment if you like this.
You may notice there is no glue involved in the assembly of this project. All fittings are pressure fit. The purpose of this is two fold:
1) No worry of toxins to contaminate water
2) easy assembly and disassemble allows easy cleaning and replacement of warn parts or future upgrades to design.
Here are the tools I used. You may use other tools that serve the same purpose depending on what you have available.
Scissors
Serrated Knife
Cordless Drill & Drill Bit that is smaller than the smallest animal you will be feeding to your fish.
Circular Saw
Materials:
Starting from left to right::
1" PVC Pipe
Quality Clear PVC Tubing
Vinyl Tubing (The soft pliable kind (Those are the little pieces in the bottom middle)
A Hawaiian Punch container (1 Gallon Size)
Drilling and Cutting::
Drill holes in top region of Hawaiian punch bottle make sure to stay clear of the area you intend to cut the bottle. I found its easier to drill the wholes while the bottle is in one piece.
Identify the area you want to cut to achieve the height of bell that you desire (Make sure you leave your fish enough head room but not too much or when you put feeders into the bell they will hide at the top.) Use serrated knife to separate bottle at the area you decided upon.
Finish cutting with scissors and trim as necessary to insure bell sits level on the ground.
Cut PVC pipe to desired length - Make sure it is at least 6" taller than the height of your tank
Measure and cut Quality PVC tubing - Make sure it is 2-3' longer than the PVC pipe.
Assembly:
Thread PVC Tubing Through PVC Pipe until it is about 2-3 inches longer than the portion you want to have hanging down in the finished Bell.
Wrap Vinyl Tubing around PVC Tubing (Wrap as tightly as possible)
Keep wrapping till assembly fits snug into PVC Pipe.
Stuff Assembly into Pipe.
The goal is to have Vinyl Flush with edge of PVC Pipe Yet Have 1-3 Inch over hang of PVC tubing.
Place remaining piece of Vinyl over PVC Pipe As shown above.
Hold Vinyl in place while forcing the whole assembly into mouth of Bell assembly.
Once properly inserted it will look as above.
Adjust as needed so that it is balanced and can stand on its own and Bingo you have Done it!!
Remember all fittings are secured with pressure only for a reason. This way should your fish grow or you destroy the bell you can easily replace it. It also makes cleaning simple.
Enjoy your new toy!!! Don't forget to comment if you like this.